Getting Started
Looking for the Raspberry Pi image? See the Raspberry Pi page — flash an SD card and power on, no manual install needed.
Quick start
Two commands get you to a running dashboard:
uv tool install citrasense
citrasense
Then open your browser to:
http://localhost:24872
When the dashboard opens you’ll see the Monitoring tab:
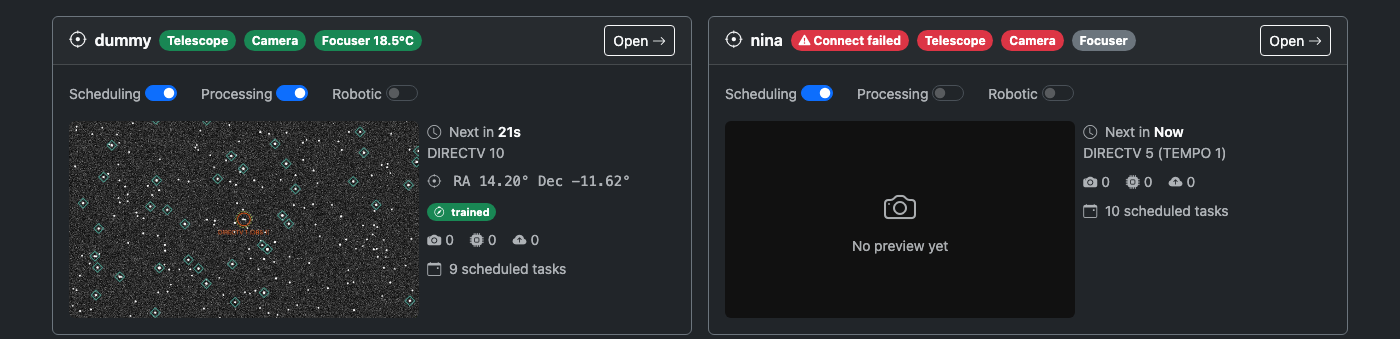
From here, connect to the Citra Space API and pick a hardware adapter — then you’re imaging.
Requirements
- Python 3.10 through 3.14
- uv (recommended) — handles Python versions, virtual environments, and dependencies in a single tool.
brew install uvon macOS,curl -LsSf https://astral.sh/uv/install.sh | shelsewhere.
Hardware extras
Some devices need additional Python libraries (ZWO SDK, Moravian GxCCD, Ximea, etc.). Install every extra in one go, or only what you need:
uv tool install citrasense --with citrasense[all-hardware]
See Direct Hardware for the per-device extras and the full list of supported cameras, mounts, filter wheels, and focusers.
Alternatives
Install with pip
If you’d rather manage your own Python environment:
pip install citrasense
Use a different port
citrasense --web-port 8080
Useful when port 24872 is already taken, or when you’re running multiple instances on one machine for testing.
Next steps
- Hardware Adapters — pick how CitraSense talks to your telescope. Direct Hardware is recommended on Linux/macOS/Pi; N.I.N.A. is the Windows path.
- Configuration — API credentials, observation settings, processors, and autofocus.
- Operating CitraSense — a full walkthrough of a night’s session, from alignment to batch imaging to robotic mode.